Create A Music Production Workflow (6-step guide)
Making a music production workflow has been a real game changer for me. It’s simple but shockingly effective – especially for my sporadic and often mood-based creativity process.
So this post will first discuss what a workflow is, its key components and its benefits before jumping into how to make your own – step by step.
So let’s skip the small talk and just dive right in.
What Is A Music Production Workflow? Definition, Core Parts + Benefits
A workflow is very much what it sounds like. But let’s get a clean definition.
A music production workflow is a system, series of steps or process for organizing your work and tasks, staying focused and crushing it.
I see my workflow as a way to complete daily tasks that help me reach my micro-goals, which ultimately accumulate and lead to some final goal (be it finishing a song, album or simply reaching the masses).
So goal setting is an important part of the process – but more on that later. Let’s look at the key parts of a music-making workflow.
The Anatomy of A Creative Workflow: 3 Core Components
Before we build out our creative workflow, it’ll help to know what’s included.
Some people may have more parts, and others less. But I feel these are the most crucial components:
Input
This include you, your resources and any tools you use
Actions + Activities
This includes your tasks, effort and triggering events
Outcomes
This includes your results, data and effects

Why Having A Workflow Is Important: 6 Sweet Benefits
Before we jump into the how-to part of this post, let’s snag a little inspiration.
Here are some of my favorite benefits for developing and using a creative workflow for producing music.
(There are more perks for sure – so let me know in the comments of any others you’ve got!)
It creates more discipline and forces you to finish things
You’re adding much-needed organization to the spontaneity of creativity
It lessens stress and frustration
It supports both setting and reaching goals
A workflow can strengthen your weaknesses
Action and workflows create motivation and inspiration (when you’re feeling uninspired)
How to Create A Music Production Workflow: 6 Steps
Creating a workflow can feel pretty straightforward, but there are definitely a few steps that can be easily overlooked.
For me, a workflow is taking my bigger, final song goal and breaking it up into micro, daily tasks to complete. I simply create a workflow that supports meeting those micro goals, which ultimately lead to (hopefully) a banger song.
So here is my six-step guide for creating a workflow (that actually works).
1. Split Up Your Projects Into Tasks + Items to Complete
Step one is to deconstruct your songwriting and projects into their core parts. How we split things up may be different from each other.
For example, I separate my song’s core melodies and chords from layering in drums. And I keep arranging and getting the basic shell of a song also as its own component.
Adding in ear candies and other nuances are generally after my core structure, direction and melodies are worked out.
Then we have vocals – a whole other part of my songwriting workflow.
So the goal here is to separate your music production tasks and song pieces into their component parts and things to complete. Make a list of the main things you need to do.
Here are the core items I tend focus on for song making:
Ideation and core melody (some vocal ideas)
Chord structure (some more vocal ideas)
Synth and sound layering
Arrangement and song structure (vocal idea changes/progression)
Sound and synth choice
Ear candies and nuances
Drum making
Recording lead vocals, layers and harmonies
Processing, effects, bussing and light mixing
2. Organize Your Tasks + Song Parts Into Logical Steps (for You)
Now that we have our tasks and core things-to-do listed out, we need to organize them.
This part is highly individual. Making music and songwriting has some rules, sure, but really, there are no rules.
So for me, starting with chords and melodies works – but for you, that may be drums.
Of course, this organization will likely change and evolve the more you produce music and better you get.
But if you’re struggling to come up with a method to your madness, try copying other producers or songwriter processes.
For example, Martin Garrix likes to start with melodies and chords or use a guitar to discover ideas – this is also what I tend to do (see my example below).
3. Do a SWOT analysis
This step may feel a bit like a detour. It kind of is, but as you’ll see in the next couple of steps, everything will come together nicely.
So here, we want to get a better idea of what we’re good at and what still may need a little work. This will help guide our workflow.
A SWOT analysis is an acronym for determining your:
Strengths
Weaknesses
Opportunities
Threats
For our purposes, we want to focus mainly on our music production strengths and weaknesses. Of course, it can also help to consider opportunities in our genre and niche as well as threats to our brand and songwriting.
Opportunities could be things that make you unique as a songwriter or an untapped fanbase market. Threats to your success could be relying solely on Spotify streams as an income source or not having an email list of your fans.
Here are some examples of music production strengths and weaknesses:
Strengths
Coming up with strong melodies
Sound choice and frequencies
Creating dynamic drum loops
Song arrangement
Coming up with fresh ideas
Weaknesses
Mixing vocal and vocal chains
Creating more interesting chord structures
Creating and using busses
Sound manipulation and plugin use
Staying focused and finishing projects or new song ideas
4. Create An If-Then Flowchart for Bottlenecks
This next step is all about addressing potential bottlenecks. So if they pop up, then have a solution to address them.
Oftentimes, these are our weaknesses, such as not finishing songs or not knowing how to create a certain effect or idea that we have in our head.
Other bottlenecks could be logistical woes such as time constraints or even mindset issues.
So we want to create solutions and workarounds for when these problem areas or weaknesses inevitably pop up.
This step can help remove (or improve) our weak points while also highlighting our strengths and personal music goals.
Here’s a simple framework that works for me:
List
Know thy enemy – list all my potential bottlenecks
Acknowledge
Acknowledge your bottlenecks and become hyper aware of them
Improve
Practice them (such as strengthening my weaknesses through focused practice and active learning)
Recognize
Become hyper aware and consciously recognize bottlenecks when they arise. Work to build a habit to recognize them, address them and fix them in real time – pushing through to continue working
5. Schedule A Creative Time Block Each Day
Once we have a structure and organization to our music production tasks, it’s time to go to work. Pretty obvious I know.
But, carving out and actually scheduling a time block to work on things is a subtle but powerful shift in songwriting habit formation.
For example, for me, my goal (on work days) is to spend at least 3 hours doing music production.
I often split this time between singing practice, practicing or learning new things in music production and effects and actively making music and working on projects in my DAW.
Of course, this time structure changes from day to day (some days are all about creating while others are all about learning). But this three- to four-hour block creates a good balance for me now.
On the weekends? I can spend all day making music. It’s slightly more mood based and casual.
But either way, creating a schedule and treating your music production like a job (you love) can boost habit formation and break down barriers and bottlenecks.
*Note: of course, embrace spontaneity and creativity when it comes – but the point here is to develop discipline when you’re feeling meh)
6. Try Your Workflow Out (But Change + Adapt As Needed)
Your first attempt at a workflow may not be a homerun. So it’s important to keep things open and flexible, because much like songwriting and creativity, a workflow is dynamic and evolving.
So try things out for a week. Are you pushing past obstacles and creating more music? Are you overcoming challenges more efficiently?
If not, tweak things until you find what works.
Even if your workflow doesn’t solve everything, take the little wins and celebrate them.
Keep pushing forward and over time, I’m sure you’ll be shocked at how effective your music-making productivity has become.
With practice, you’ll learn how to speed up music production workflow, and eventually it’ll become second nature.
Example: Here’s My (Current) Music Production Workflow
Below is a snapshot of my workflow. But I don’t always follow this format.
Rather, I lean on this structure when I’m feeling unmotivated, tired and lacking in creativity. Because remember, motivation and creative inspiration often comes after action.
That is, we can’t always wait for creativity to strike. Sometimes we need to create it through action, discipline and a good workflow.
Initial Melody, Idea + Concept
I usually start with a core melody or chord structure
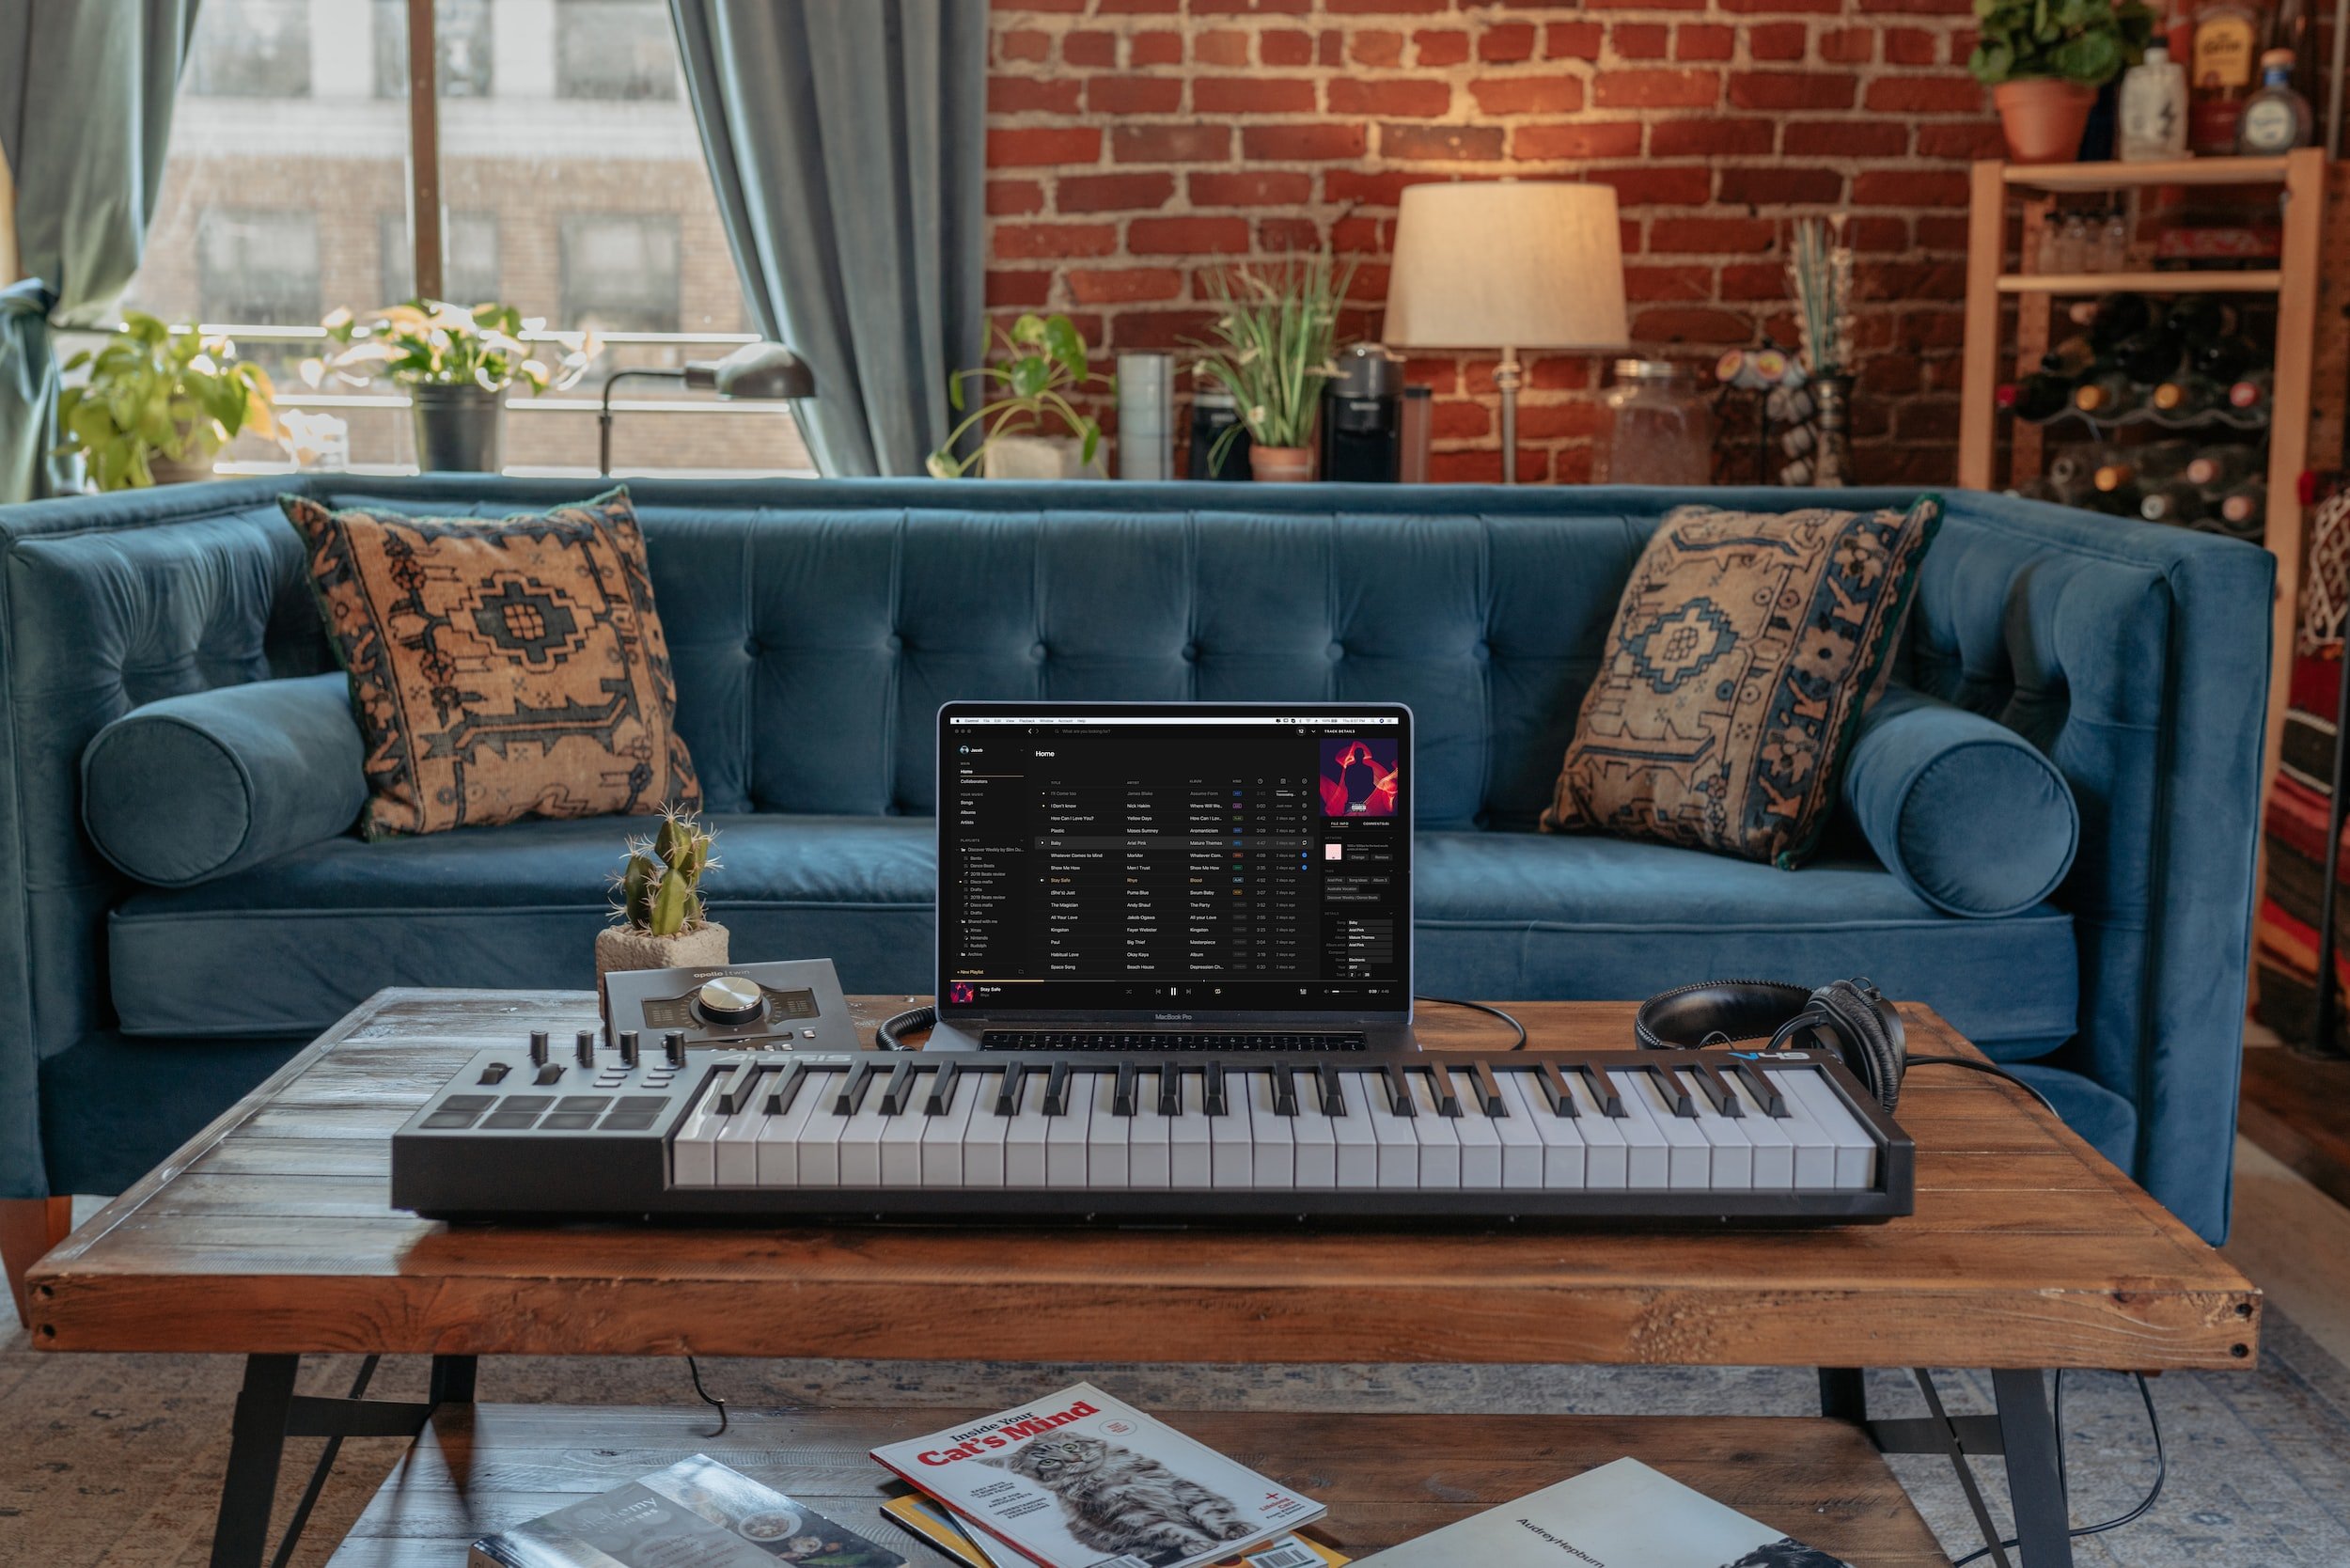
I create my main ideas from either my guitar, a MIDI keyboard or just by humming ideas into my Voice Memos
Identify Main Sections and Components – Visualize + Describe Them
I like to visualize the finished song – and describe it in detail
Plan out where it swells, quiets down, has potential reverse reverbs, harmonies, echoes, etc.
Describe the chords, bass, drums, etc. (type of sounds and vibes they’ll be)
Use inspo track(s) if needed for any parts
Sound/Instrument Choice + Make A Rough Draft
From here, I like to outline my full song, as a rough draft
I choose sounds that match the vibe I’m going for
I choose instruments, pads and synths and plan out instrument use and target frequencies
I arrange the core structure with a guitar or piano inside my DAW:
Chords
Main structure
Verse + chorus melodies and leads
Lyrics
Vocals, sound design, transitions and layering
I double down on sound selection, frequencies and layering complimentary sounds
I focus more on my transitions and the ebb and flow of my song (build ups, swells, dynamics, etc.)
I also start adding in lead vocals, vocal layers and harmonies
I fine-tune my instrument selection so my vocals have enough room in the mix
Ear candies and nuances (more layering and adjustments)
I now go back through each section and layer in the ear candies and details
I often add these throughout my other steps, whenever inspiration strikes
Step Away (+ Come Back)
Step away and forget for some objectivity and fresh ears
Is the workflow working? If not, make adjustments, etc.
Want More? Check Out These Sweet Reads!